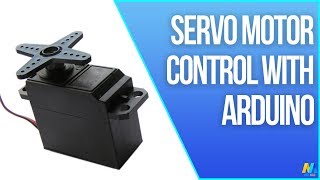
Arduino Tutorial - Servo Motor Control with Arduino HD
Servo motors are great devices that can turn to a specified position. Usually, they have a servo arm that can turn 180 degrees. Using the Arduino, we can tell a servo to go to a specified position and it will go there. As simple as that! Servo motors were first used in the Remote Control (RC) world, usually to control the steering of RC cars or the flaps on a RC plane. With time, they found their uses in robotics, automation, and of course, the Arduino world. Here we will see how to connect a servo motor and then how to turn it to different positions. Hardware Required : - Arduino - Servo Motor - Jumper Cables - Battery & Buckle Flash Deals -- https://goo.gl/CVqg7P Mega Stock Clearance -- https://goo.gl/eCbuiP Arduino Kits -- https://goo.gl/uwr19e Anet A8 3D Printer Promotion -- https://goo.gl/MNa3p9 More Budget 3D Printers -- https://goo.gl/v6fPU4 Connections : Following are the steps to connect a servo motor to the Arduino: The servo motor has a female connector with three pins. The darkest or even black one is usually the ground. Connect this to the Arduino GND. Connect the power cable that in all standards should be red to 5V on the Arduino. Connect the remaining line on the servo connector to a digital pin on the Arduino. ------ *** I recommend! You not connect directly the servo motor to arduino. I suggest you use external power to the servo. SG90 Mini RC servo motors can be used. This can damage the Arduino MG996 instant high torque. MG996 Stall Torque: 9.4kg / cm (4.8V) - 11 kg / cm (6.0V) and Operating voltage: 4.8 ~ 6.6v. I wanted to tell in this tutorial; connections, code generation and motor control. So I did not give more details about the engine. ----- Get the Code: http://mertarduinotutorial.blogspot.com.tr/2016/12/arduino-tutorial-01-servo-motor-control.html ----
 HD
HD
 HD
HD HD
HD HD
HD HD
HD HD
HD HD
HD HD
HD HD
HD HD
HD HD
HD HD
HD HD
HD HD
HD HD
HD HD
HD HD
HD HD
HD HD
HD HD
HD HD
HD HD
HD HD
HD HD
HD HD
HD HD
HD HD
HD HD
HD HD
HD
 HD
HD